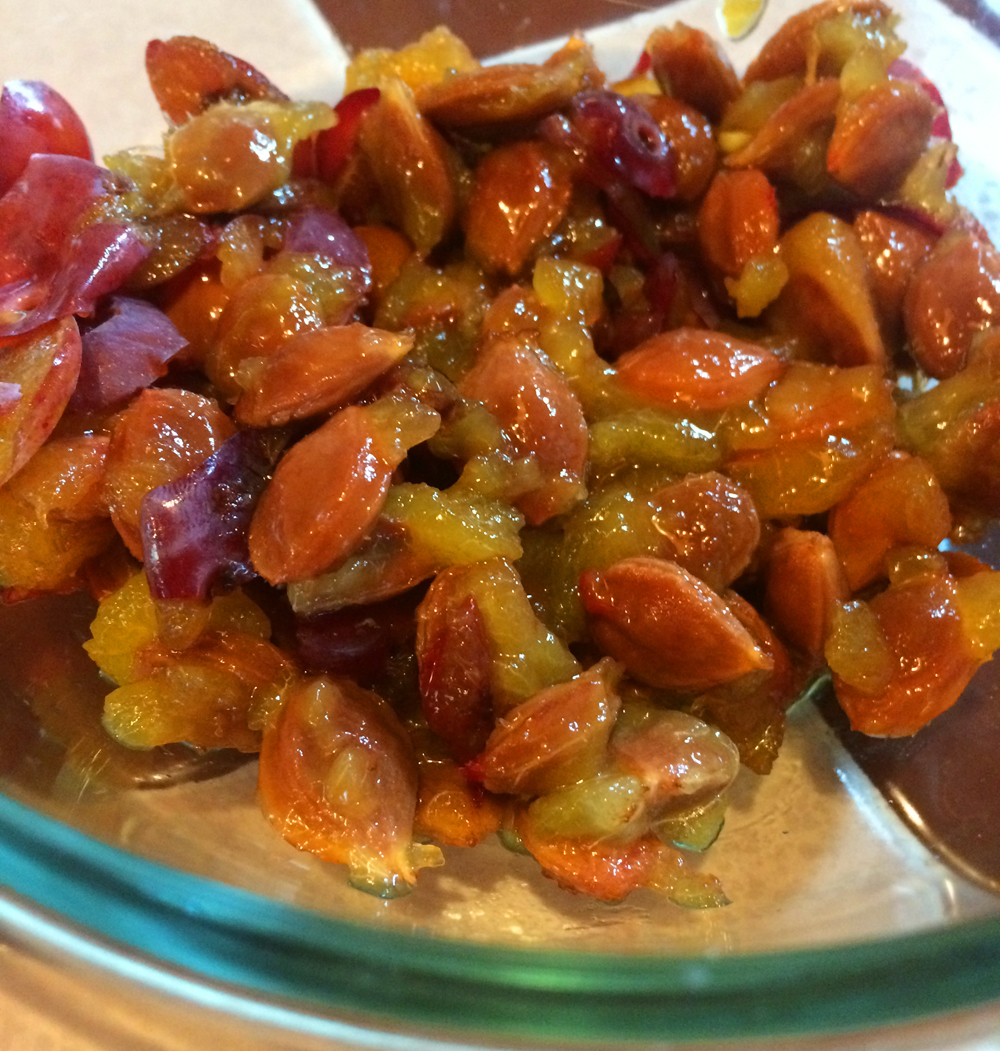
Plum pits from yesterday’s jam making are destined for the compost bin.
I started with a worm compost bin only — which is where the plum pits are going. Here’s what the worm compost looks like before adding the pits:
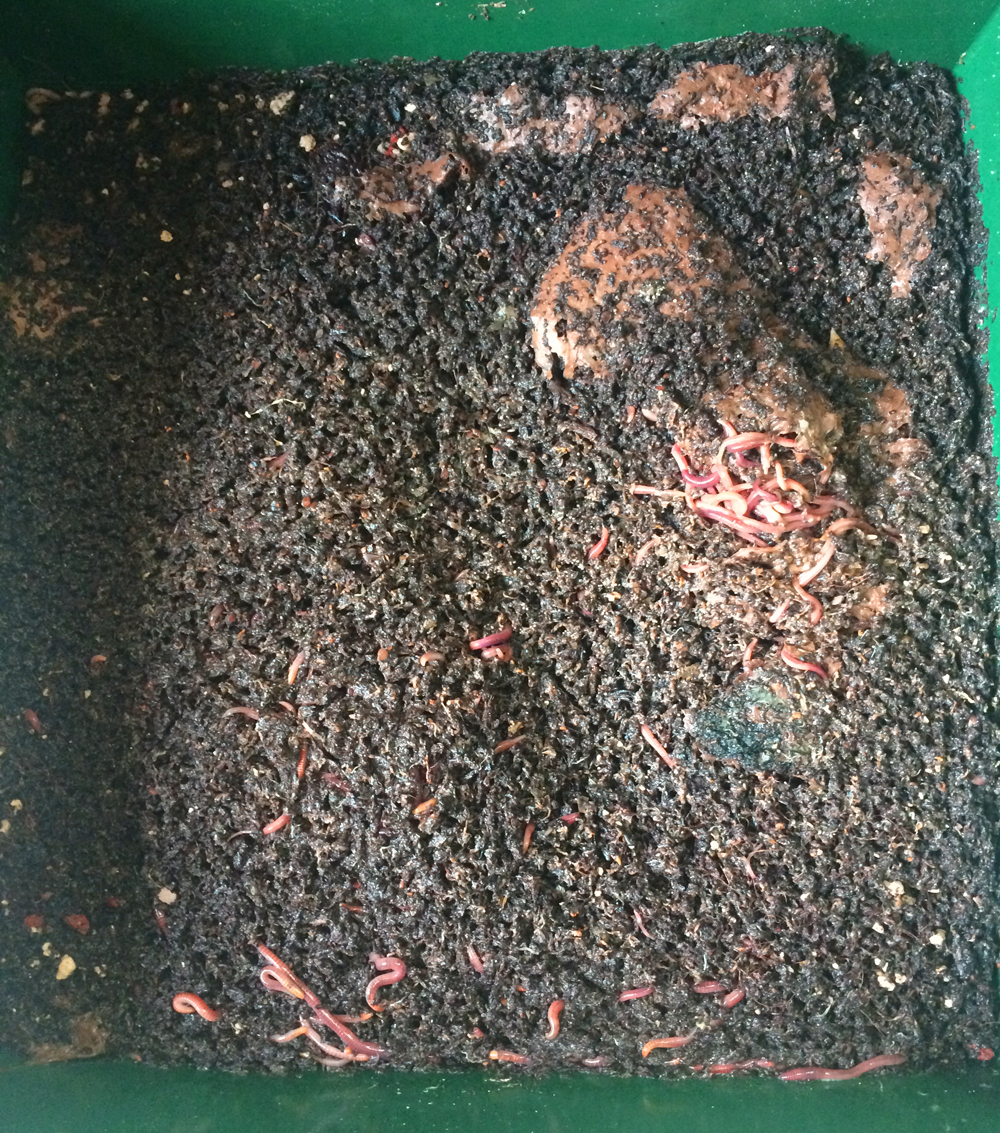
Originally I thought I could do all my composting in the worm bin. I learned, though, that worms take a long time to break down grain, vegetable and fruit scraps into the “black gold” you’re starting to see in the picture above. They can process about 1/2 a gallon of scraps a month.
Unless I wanted to take up more valuable space for a much larger worm compost bin — which has to be indoors to keep the worms from freezing to death in winter — not all the scraps we generate would fit into the worm bin. So I added an outdoor compost bin to hold household scraps as well as yard waste.
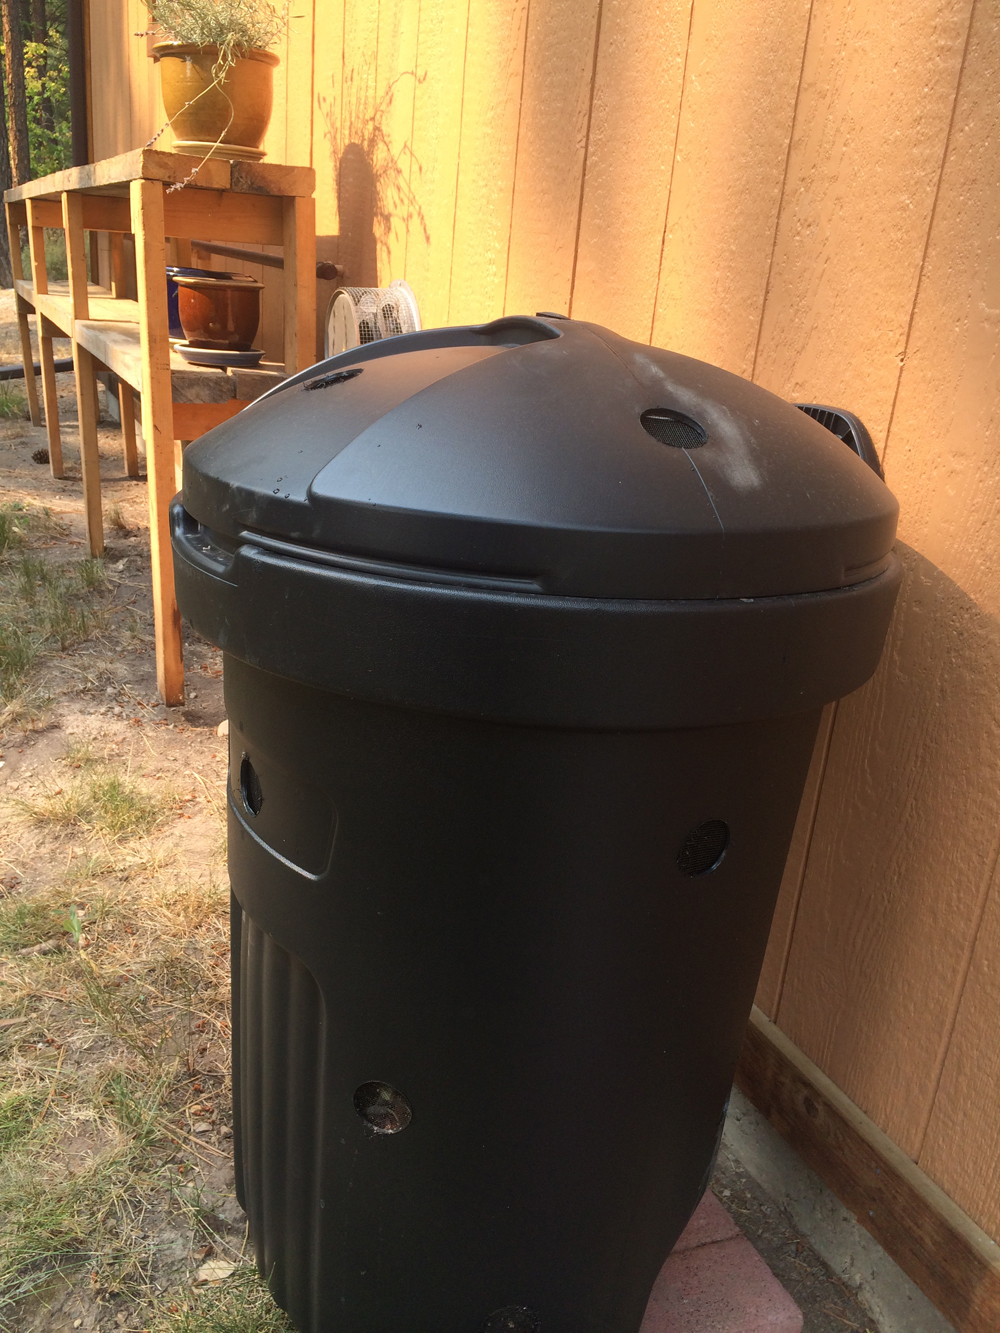
I looked into purchasing a large bin for outdoors. They were all fairly pricey, and looked relatively easy to make. Since we live in bear country, I also had to consider whether having a bin outside would attract bears who’d tear it apart. If that turns out to be the case, I’ll have to rethink my outdoor compost setup altogether. So far, no bears or other critters have disturbed the bin and it’s been out there a couple months. We’ll see how things go through the fall when the bears are actively foraging to get ready for hibernation.
Turns out, making the bin was super easy. I purchased a 32-gallon wheeled black trash bin on sale for less than $10. I also purchased a 2″ circular saw bit for my drill. I drilled four 2″ holes in the bottom of the bin, four in the lid, and eight evenly scattered around the sides.
To keep critters and flies out — while keeping airflow in the bin to keep the compost aerated — I used duct tape to tape window screen on the inside of the bin to cover the 2″ holes I’d drilled. I’d tried using silicone roofing caulk to glue the screen inside the bin, but it didn’t adhere that well. Another waterproof adhesive might have worked better. So far, though, the duct tape has held just fine. Total cost was less than $20 and total time was about 45 minutes to drill and screen the holes.
The recommended ratio of “greens” (mostly fruit, grain, and vegetable waste) and “browns” (mostly yard waste) is 65% to 35%. You can find lots of expert instructions for setting up a successful compost bin by searching online.
I put the household waste that won’t fit in the worm bin into the big bin, along with any citrus, onion, hot pepper, and other waste that worms reportedly don’t like. These make up the “greens” portion of the mix. Yard waste makes up the “browns” portion — about another third of the mix. I also sprinkle a layer of potting soil over my greens to encourage decomposition. Potting soil also cuts the smell of the more fragrant among the freshly composting greens, like onions. Once the worms are done making their black gold, I’ll mix that in as well.
We’ll see how well the compost works in the spring when we start our first season of gardening.