Traditional Thanksgiving birds are cooked and served in their bird-shaped form. It’s what us Americans are used to. Based on my experience, however, there is a better way.
I learned this technique a few years ago from the Serious Eats website. Unlike so many other websites with recipes, Serious Eats takes the time to do close to scientific, comparative method tests to come up with their conclusions about the best way to cook anything. Thanksgiving turkey is no exception. This is the Serious Eats Thanksgiving turkey recipe I based my recipe on. It really does make an amazing turkey if you can let go of serving up a whole bird at the table.
Our Thanksgiving turkey came from a local Hutterite colony farm not far from Glacier National Park in Montana. The Hutterites are an Anabaptist community with roots in common with the Mennonites and Amish. They raise their turkeys free range without chemical intervention. That, plus growing in the fresh air and water of Montana, and you get an incomparably delicious turkey. It’s worth investing in a quality bird if you can find one. When you do, it’s worth cooking it the very best way to preserve that goodness.
Planet B Gardens Thanksgiving Turkey Recipe
(modified from, and with sincere thanks to, Serious Eats)
The recipe starts with a dry, versus wet, brine of the turkey. Combine 6 tablespoons kosher salt (I used Morton’s) with 2 tablespoons baking powder (not baking soda) in a bowl. Sprinkle all over the turkey, and let dry brine for 24 hours.
Take the turkey out 1 hour and 15 minutes before cooking. Brush off any additional salt and baking powder to leave a light coating. Let it come closer to room temperature.
After coming to close to room temperature (about an hour), it’s time to spatchcock. Cut out the backbone first. You definitely need poultry shears. My grip strength is pretty weak. With poultry shears cutting the backbone from the top of the ribcage was doable even for me, with a bit of effort.
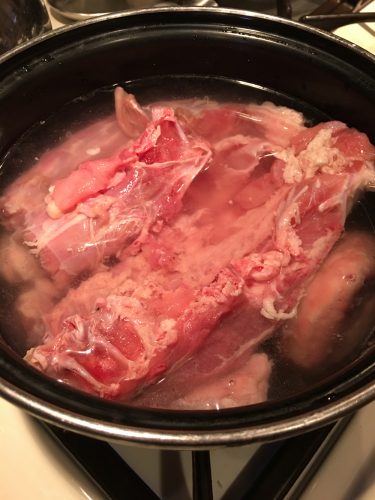
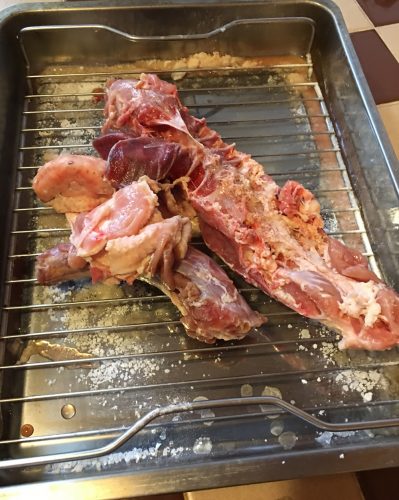 Put the backbone and giblets from inside the turkey into a saucepan with clean/filtered water to cover. Start simmering on the stove.
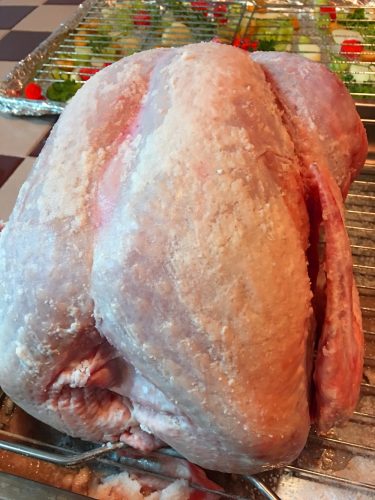
Place the bird, breast side up, on a board. Press down on the center of the breastbone to flatten.

I had to to cut a bit from the butt end to the top of the breast with the poultry shears to make the flattening happen evenly. I also had to use a mallet to break the breast bone. It’s not without effort, but worth the trouble. The picture above is from after it’s been flipped from breast-side up.
Preheat the oven to 450F. Line a large rimmed baking sheet with foil. Cut medium chunks of carrots, celery, onions and sprinkle on the baking sheet. 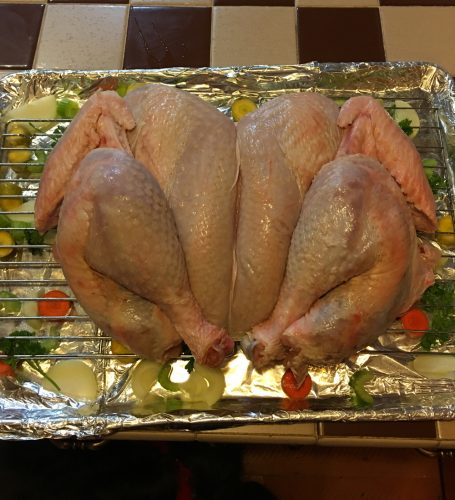 Add a smattering of parsley sprigs on top of those. Put a wire rack or couple of cooling racks on top of the veggies. Spray the whole shebang with cooking oil, and splay the spatchcocked turkey on the rack.
 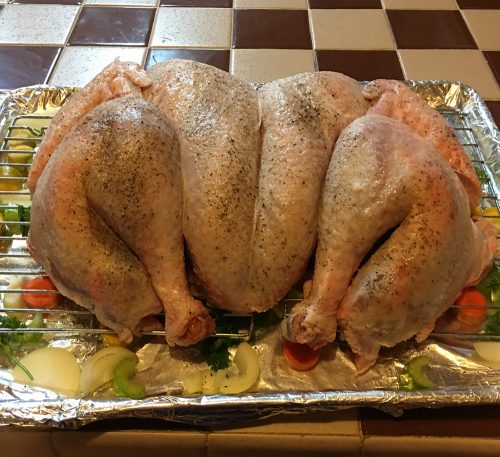 Tuck the wing tips under the backside of the legs. Pepper the turkey.
Put the turkey in the preheated 45oF oven.
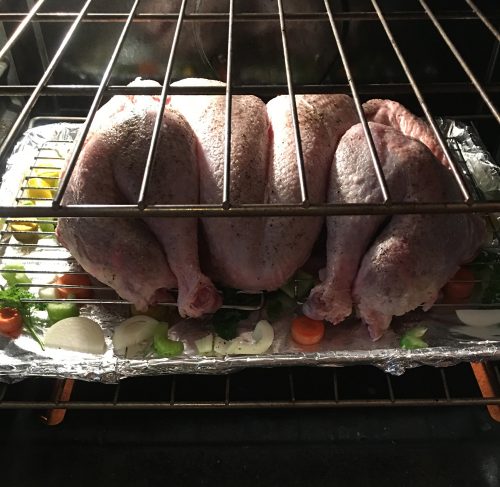 Check temperature after 60 minutes. You’re looking for the middle of the legs to be around 160F, and the middle of the breast to be around 150F. If it’s not ready, put back into the oven for 10 minute increments until the legs and breast reach the desired temperature.
Once the turkey is cooked, set aside to rest and start the gravy. Strain the neck, backbones, and giblets from the reduced liquid. Place the liquid aside. In the saucepan, melt a tablespoon of butter. Sprinkle in a tablespoon of flour and mix into a paste. Add the gravy liquid, whisking in continually. Simmer until the gravy reaches the desired thickness. If you like a thicker gravy, you can cook longer or adjust by sprinkling a little more flour into the mix.
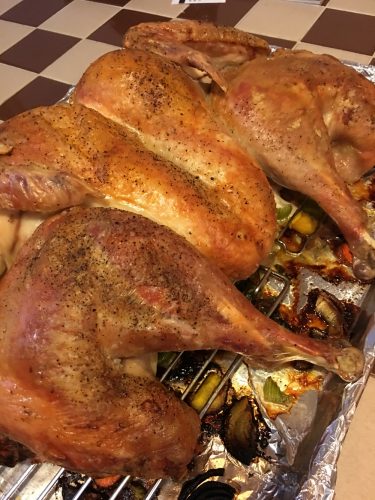
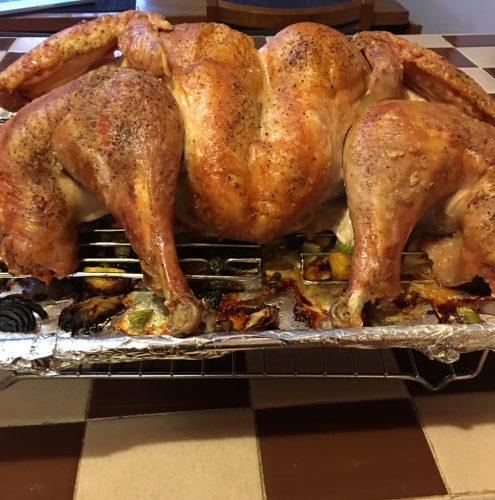 Remove the legs and wings, and slice the turkey breast and thighs onto a serving plate. Serve with a side boat of gravy as well as sides you like (mashed potatoes, sweet potatoes, green beans, brussels sprouts — use whatever is local and fresh). This method of cooking turkey is amazingly awesome, so it will be the standout regardless of whatever you serve with it on Thanksgiving.