Fermenting vegetables are a great way to preserve extra harvest through the winter, with lots of healthy probiotics, vitamins, and minerals. I don’t have huge quantities of any one vegetable right now, so want to be able to preserve small amounts. 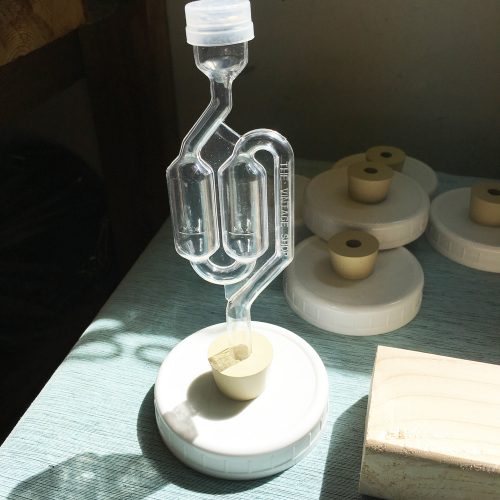 From what I’ve read, fermenting in mason jars using an airlock is a great small-batch option. When I checked into buying airlock mason jar fermentation lids, though, they averaged $10 per lid — which would quickly add up given the number of batches I’d like to ferment. I figured I could make them myself much less expensively.
I started with six lids to see how it would go. I bought 6 twin bubble airlocks with #6 stoppers on Amazon for $6.25. You can also get them from beer- and wine-making supply stores. I already had 6 wide-mouth plastic storage caps, but if I’d have to buy them they’re around $3.25 for a pack of 8 caps.
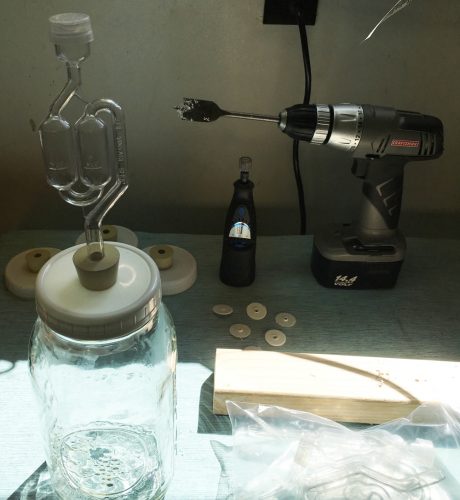
Note that I am using wide-mouth jars and caps because 1/2-pint 1/4 pint mason jars work well for keeping vegetables submerged in the fermentation liquid, and they fit easily into wide-mouth mason jars. If you use regular-mouth jars and lids, you’ll have to find another way to weight your veggies so they stay submerged in the jar.
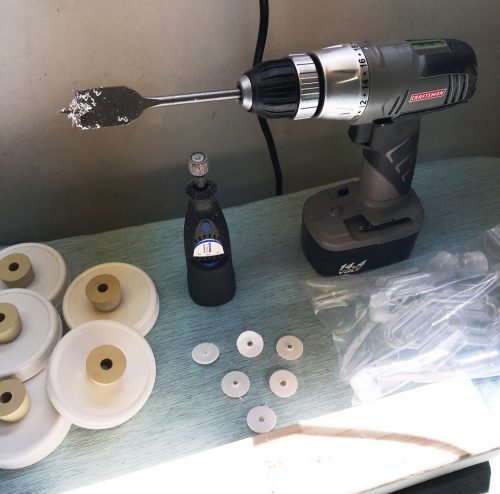
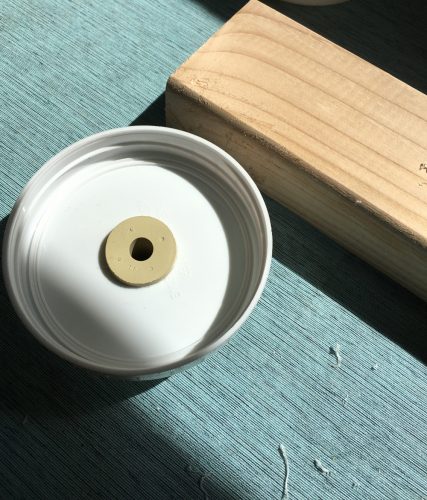
Next I drilled a small pilot hole in the center of each plastic cap. That helps prevent splitting when you drill the larger hole. Then I used a 1″ spade drill bit to bore a hole to fit the #6 stopper.
If you’re using a different-sized stopper, just be sure the width of the blade is slightly smaller than the widest part of your stopper. To check, place the wide top end of the stopper over the blade. The stopper should be a millimeter or so wider than the blade — not much wider or the hole will be too small. Also, when drilling plastic, I recommend bearing down lightly and letting the drill do the work so you don’t crack the top. One learned from experience!
After drilling the large hole, I took my Dremel with a sandpaper attachment and smoothed out any burrs from inside the opening. Popped in the stoppers, and that’s it.
Took me all of 15 minutes to make 6 caps. If you have to buy both the airlock/stoppers and the lids, you’ll be out about $1.60 per cap total (with 2 lids left over). That’s a lot better than $10 or so per cap to purchase, for a few minutes’ effort.
 If you don’t have a Dremel, a rounded file or sandpaper would work fine as well. Spade bits are about $5 each if you have to buy one of those. If you don’t have an electric drill, that’s a bit pricier but well worth the investment for a number of uses.
I’ll post a couple fermentation recipes and instructions soon!