 Homemade chewy, moist bread with a crunchy crust is something I attempted for years. I’ve tried a variety of bread bibles, baking stones, clay cloches, brotforms, multiple gadgets and techniques to make the kind of bread I was aiming for. Turns out, the very easiest technique I tried ended up creating exactly the kind of bread I wanted.
Here’s the skinny:
Step 1 – Mix the dough
The dough has only four ingredients: 3 cups bread flour, 1.5 tsp. salt, 1 tsp. yeast (I use Saf Instant), and 1.5 cups water.
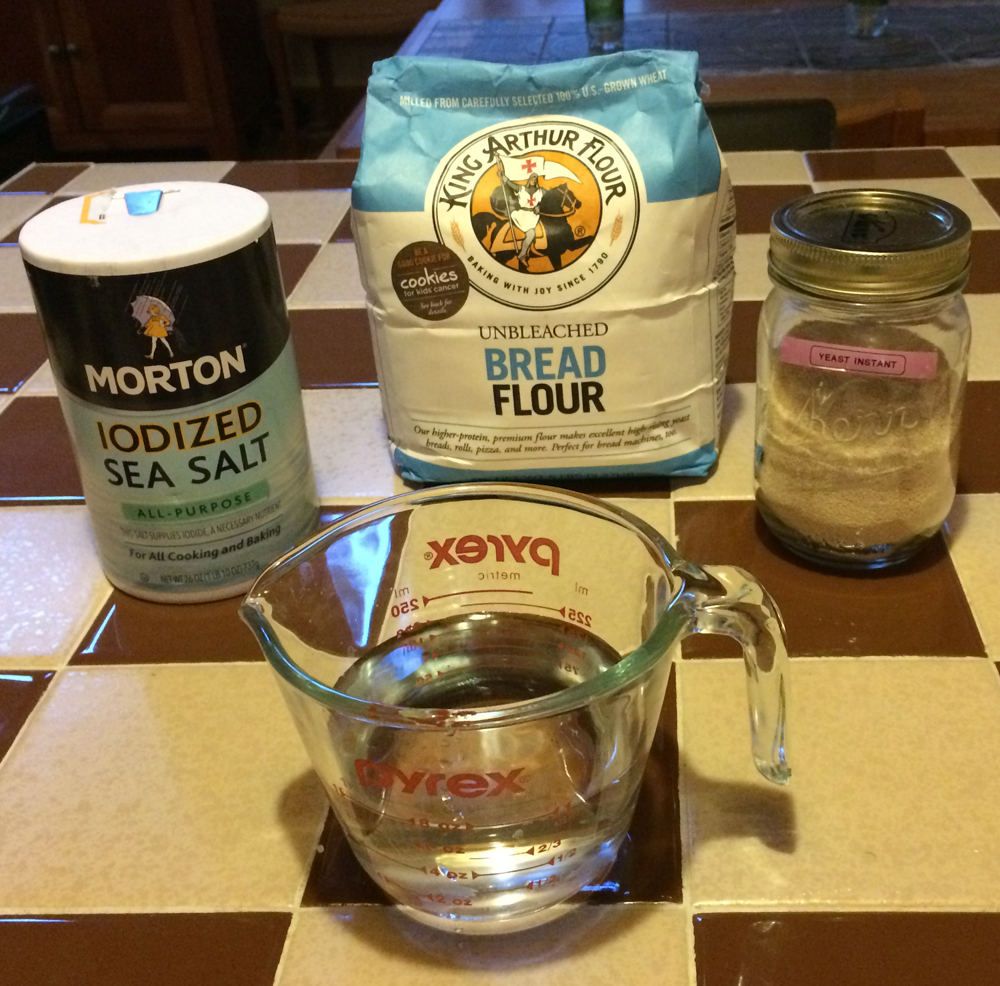
Put the ingredients, in order, in a 2- or 4-quart mixing bowl. Mix ’em together.
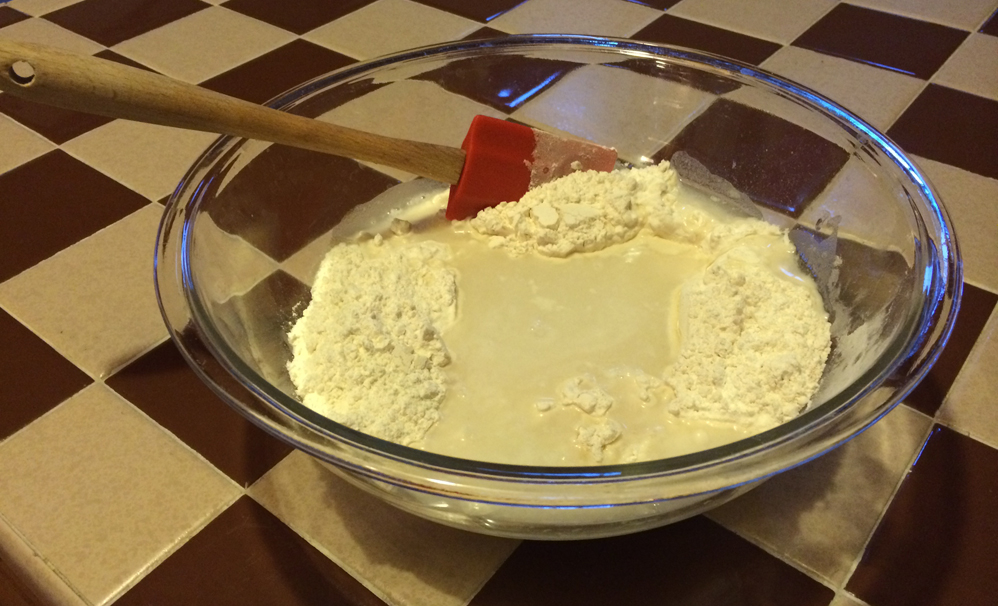
The dough will look shaggy when completely mixed.
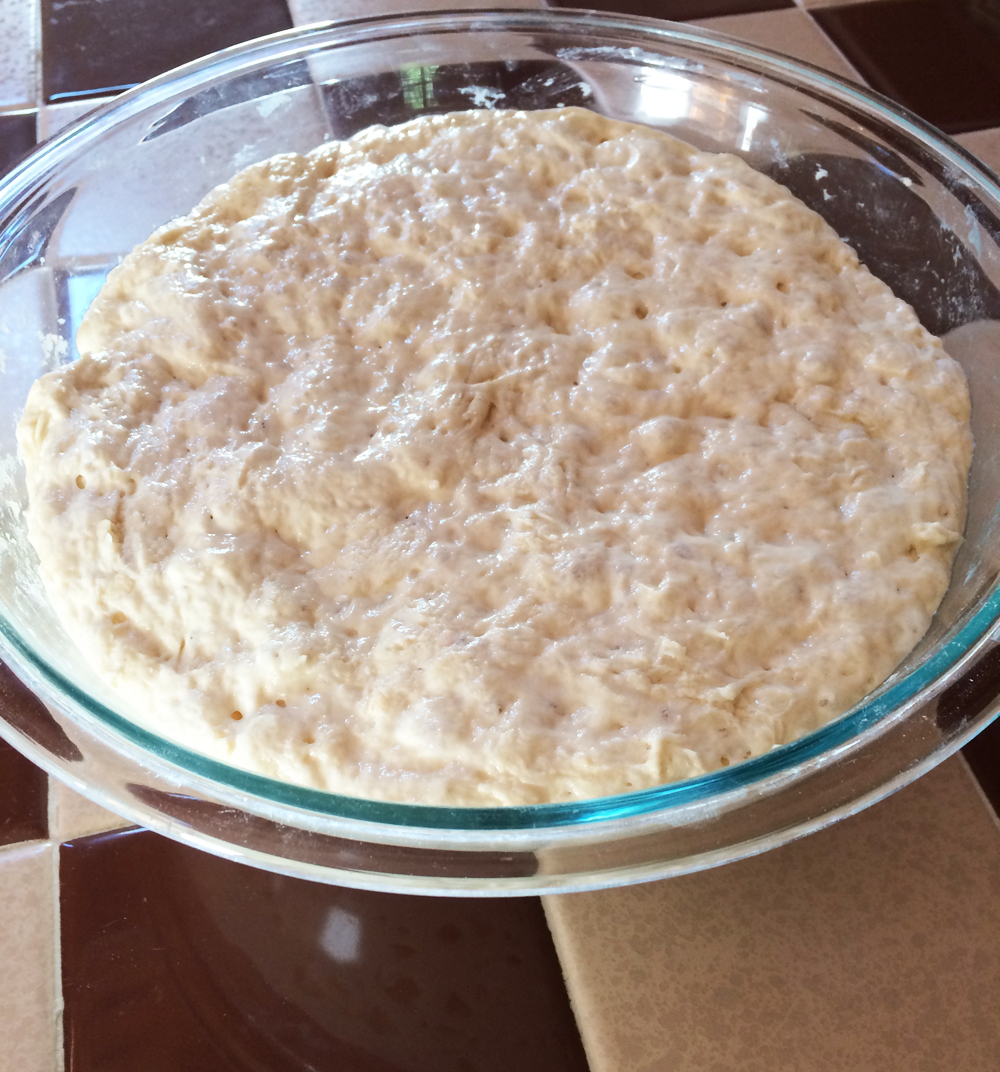
Step 2 – Let the dough do its thing, overnight recommended
Put a cover on the bowl, or plastic wrap if the bowl doesn’t come with a cover.
Let the dough rest in the bowl at room temperature 8-24 hours. I usually make the dough the night before and bake the next day. Sometimes the next morning, sometimes the next night. Either way works fine.
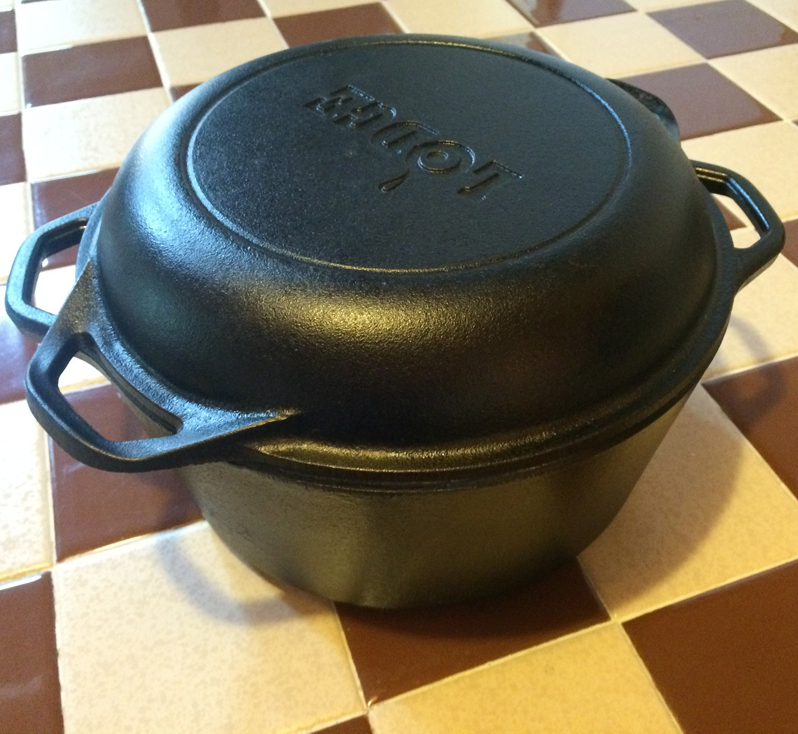
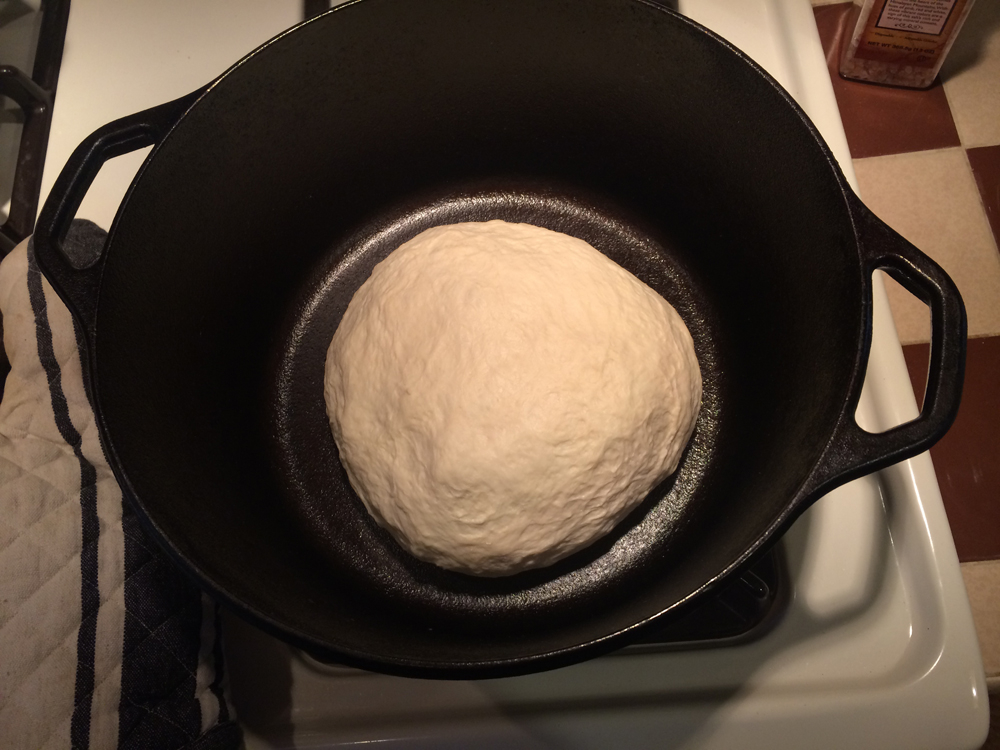
Step 3 – Preheat a dutch oven with cover 30 minutes at 475F
I have a 5-quart dutch oven that works perfectly.
Step 4 – Form your loaf
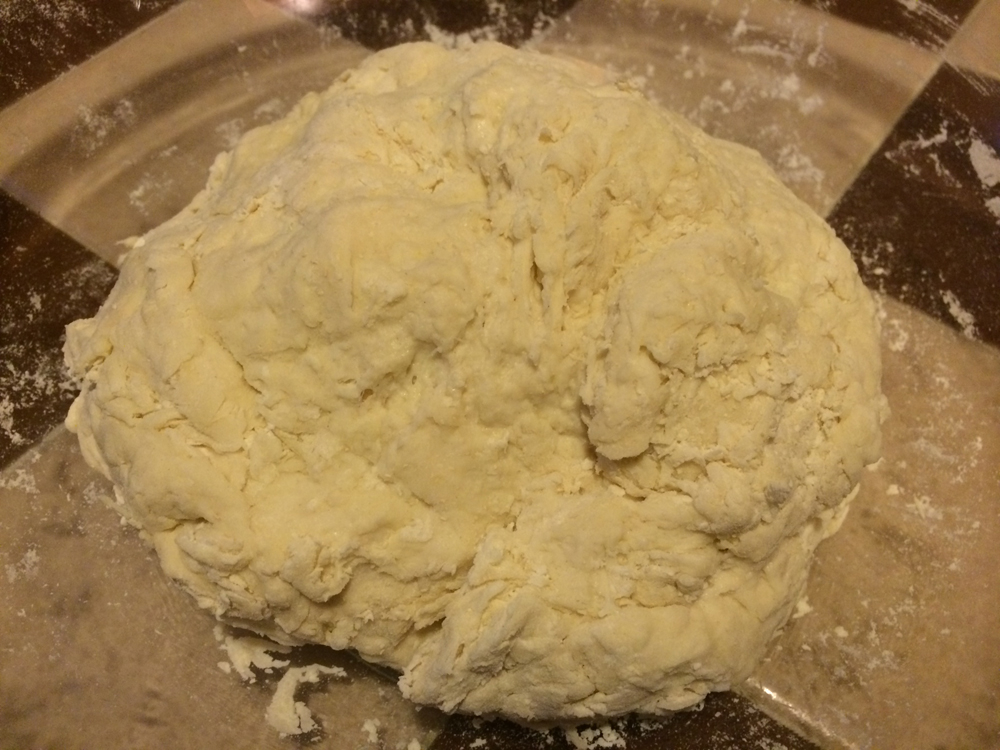
Your dough should look very sticky and shiny at this point – not shaggy at all.
Sprinkle a couple tablespoons of bread flour over the dough. I tap the bowl lightly while turning it, slightly tipped, to distribute the flour to the edges. Once the flour is at the edges, I take a rubber spatula and start to ease it down the sides of the dough. Then I tip and turn the bowl to loosen the dough while the flour slides down its sides.
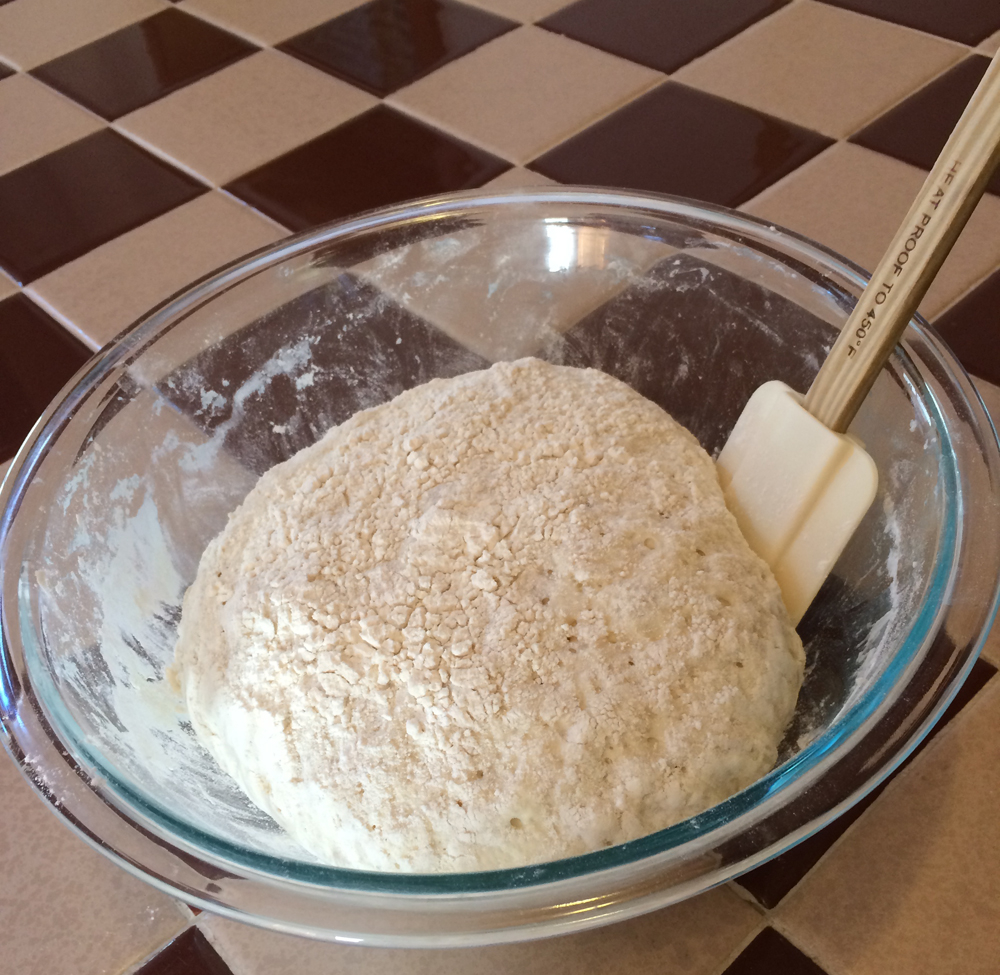
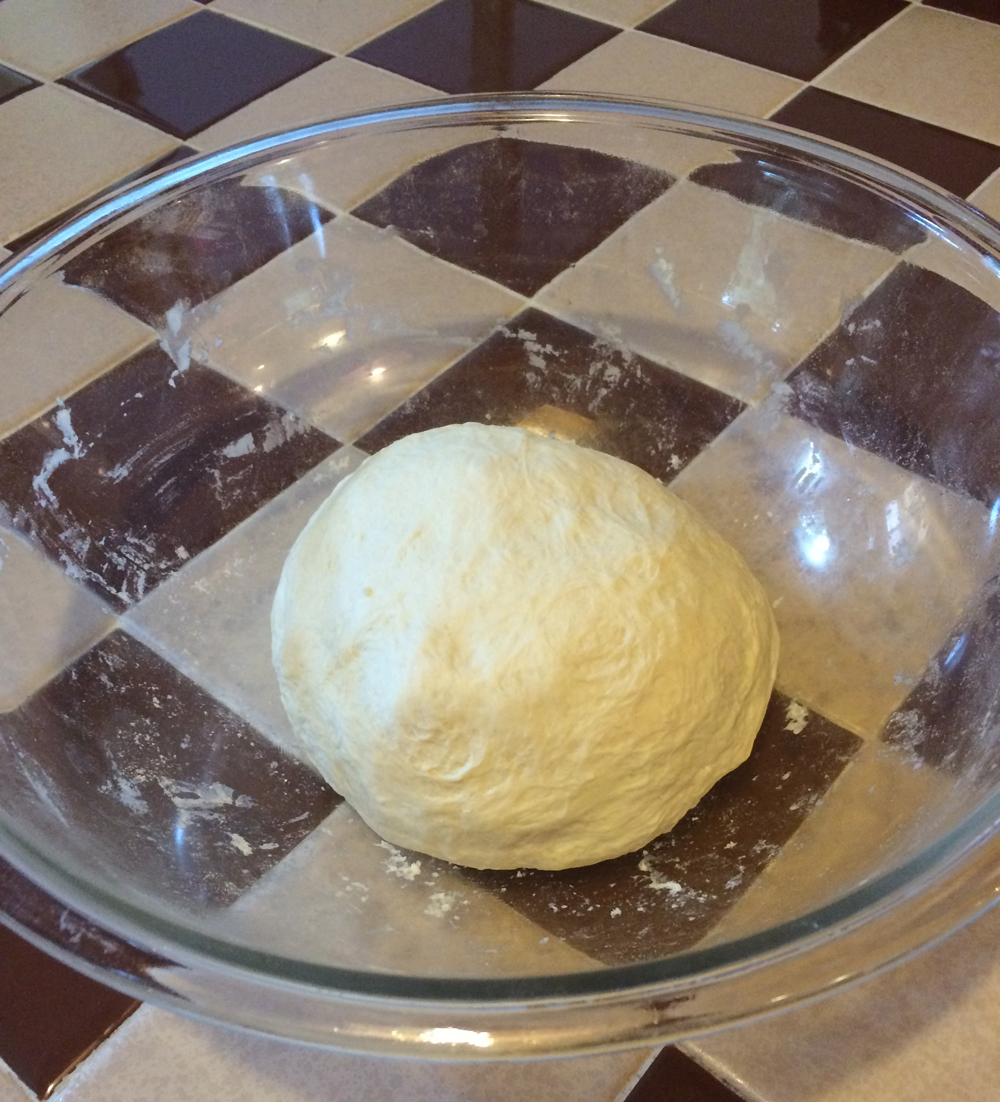
After most of the outside of the dough is covered in flour, I swirl the bowl lightly to form a flour-covered ball. It’s easier than it sounds. The main idea here is to form the dough into a ball WITHOUT KNEADING. There is NO KNEADING required. Easy peasy.
Step 5 – Put your loaf into the preheated Dutch oven, put the lid on, lower temperature to 450F, and bake 30 minutes
Step 6 – Take off the Dutch oven lid, bake 10-15 additional minutes
After 30 minutes, your bread should look lightly cooked – see below.
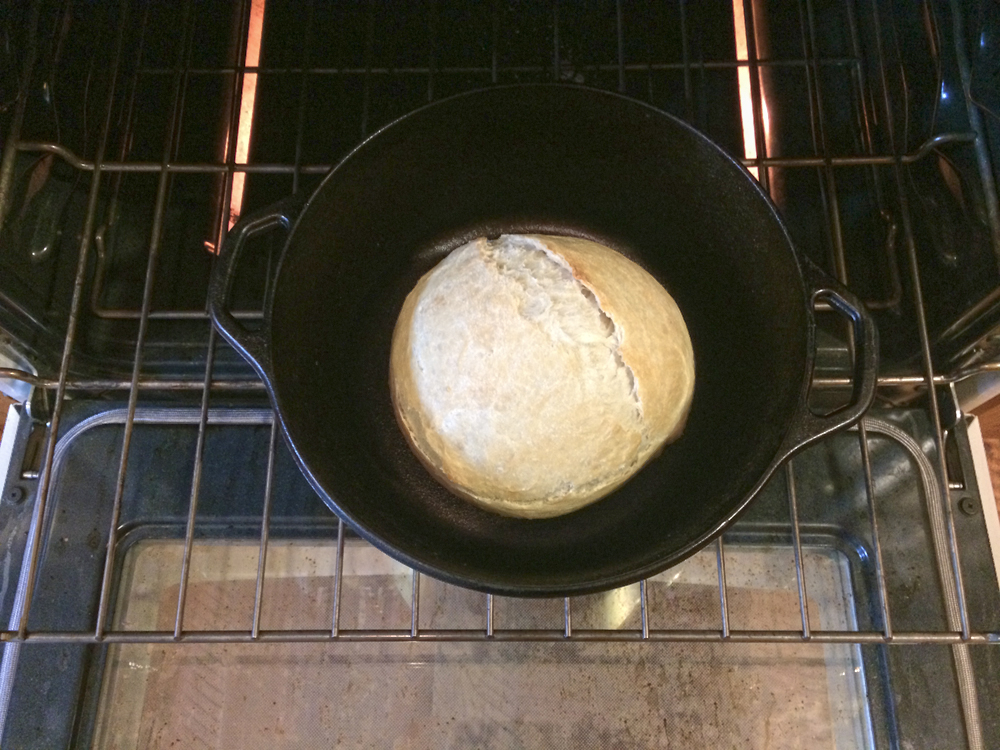
Step 7 – Check the crust, take your bread out to cool
After 10-15 minutes, the crust should look like the pic below.

Take your bread out to cool and voila! Crusty bread ready to serve or save for later.